Flag Day is here again! Every year, the United States celebrates National Flag Week, with Flag Day on June 14th. It’s a time to honor one of our most important national symbols: the American flag.
Why Do We Celebrate the Flag?
You might wonder — why celebrate a flag? After all, it’s just red, white, and blue cloth… right?
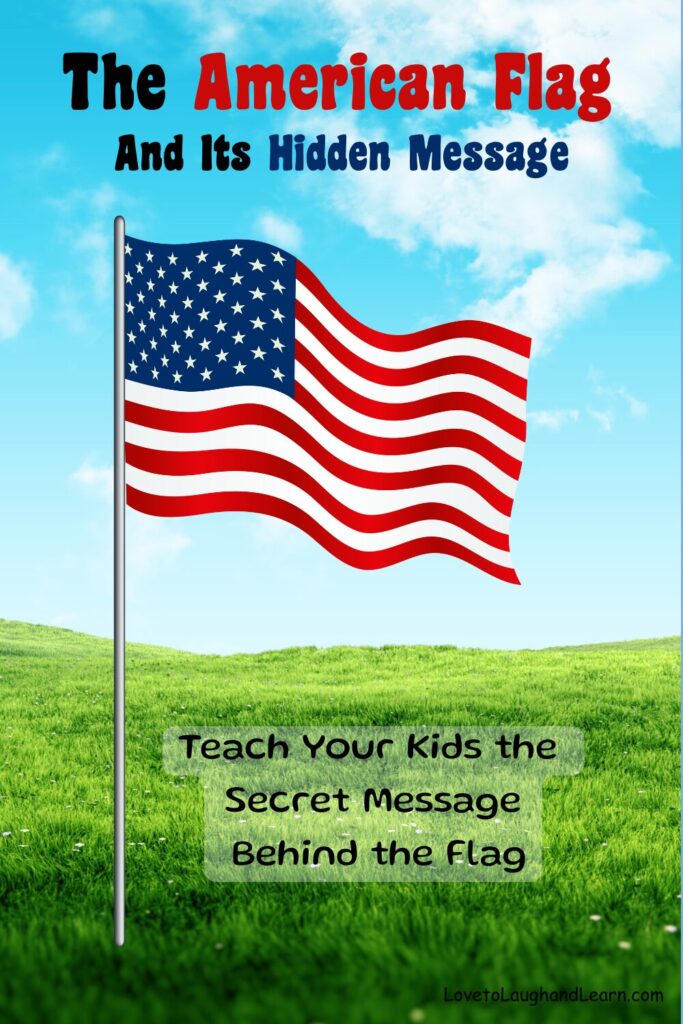
Have you looked closely at an American Flag? Did you know that there is a hidden message? Can you find it? Here’s a picture. Take a moment and look at it closely.
Do you see the message yet? I will give you a hint. The American Flag is telling you a story.
Now do you see it?
Where’s The Story?
No, it doesn’t have tiny words on it but if you know what to look for, it’s full of meaning. The American Flag tells you how our country began. Are you ready to hear how it tells its story?
How It Began
Before America was the United States, it was a group of colonies ruled by England. Some people came for freedom to worship God the way they wanted, some for adventure, and others simply to make money.
So how many colonies were there? The flag gives us a clue!
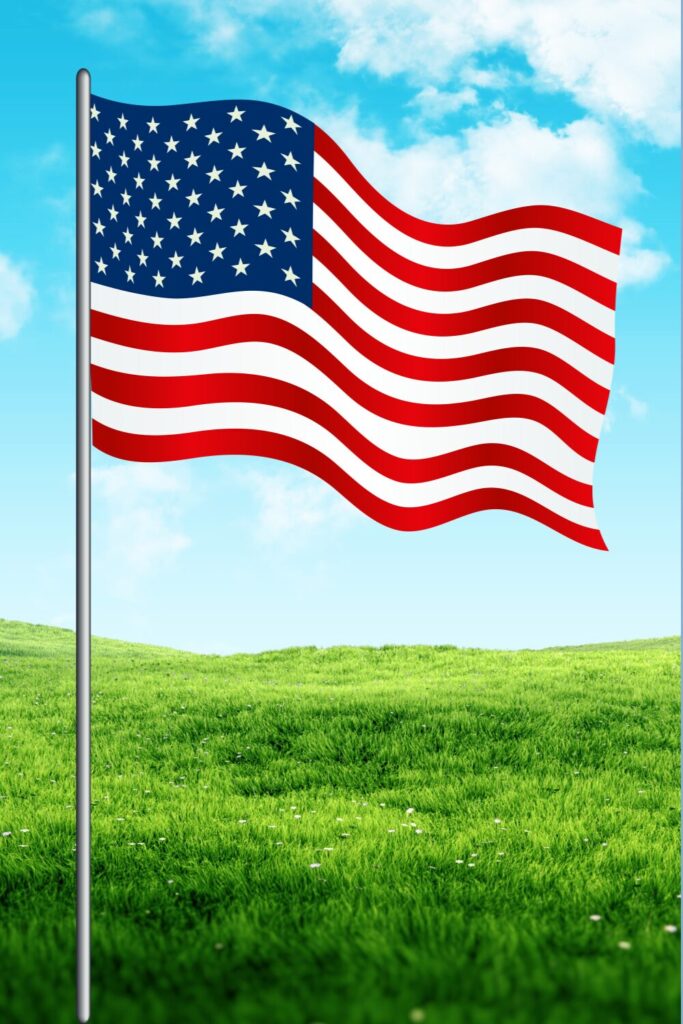
Count the stripes — yes, there are 13.
These stripes remind us of the 13 original colonies that started it all. No states yet, just a group of determined settlers starting something new.
There is still more to the American Flag’s hidden message. The colors are each telling you a different part of America’s story.
What Do the Flag’s Colors Mean?
🔴 Red stands for valor
That means bravery — being strong and courageous even when things are hard. Red can also remind us of the brave people who fought to protect our freedom.
⚪ White stands for purity
This color reminds us to have a kind heart, do what’s right, and treat others with honesty.
🔵 Blue stands for justice (or loyalty)
Blue is for fairness and staying true — to your friends, your family, and your country. It reminds us to stand up for what’s right.
What Does the Flag Tell Us About the States?
Do you know how many different states there are in America today? It’s right there in the American Flag’s hidden message. Have you found it?
The answer is in the stars. No, not the stars in the sky, the ones on the flag tells you how many states there are. Just count them. There is one star for each state.
How many stars did you count?
That’s right, 50 stars, so that means there are 50 states!
Mystery Solved
So now you know the secret: the flag tells a story.
- It reminds us of where America started.
- It tells us how we should act — with courage, kindness, and fairness.
- And it shows how far we’ve come — from 13 colonies to 50 states strong.
That’s more than a flag… it’s a legacy.
Related Posts
Celebrating Flag Day – Check out my 2015 post with fun ideas, snacks, and picture book reviews!
Flag-Themed T-Shirts and items – Celebrate in style with my patriotic tee, hats and other items. Perfect for Flag Day and the Fourth of July!