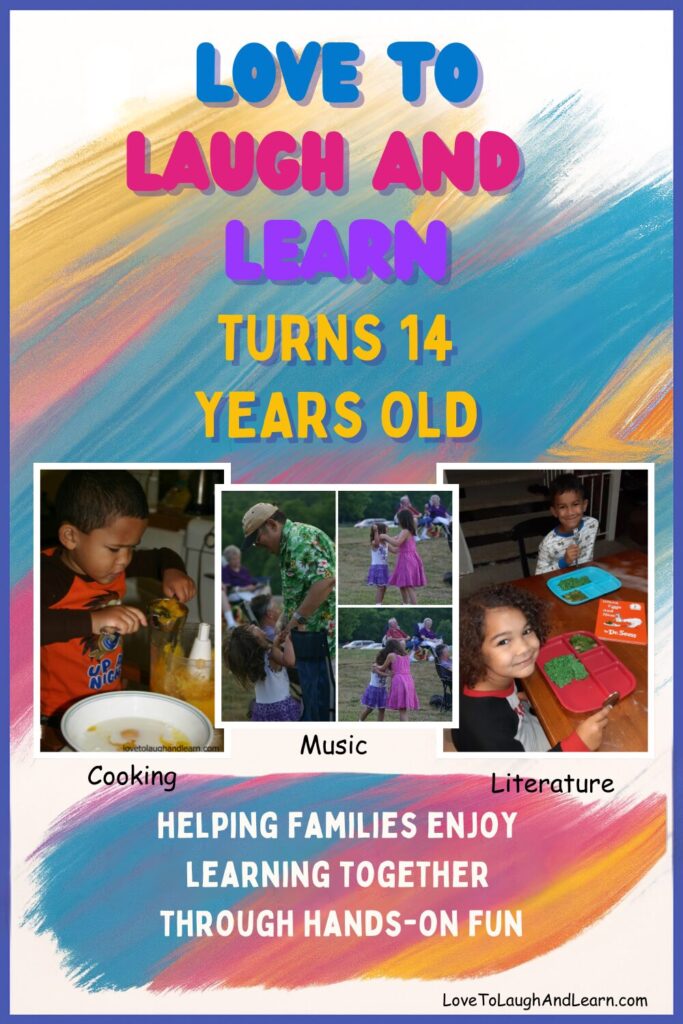
My, how time flies! I can’t believe my little blog is turning 14 on October 7th, 2025. When I started Love to Laugh and Learn, my heart was set on one thing: hands-on learning for families. Over the years, life has brought big changes and unexpected challenges—but this blog has remained a joyful constant, and I’m so thankful to still be here creating with you.
A Personal Journey
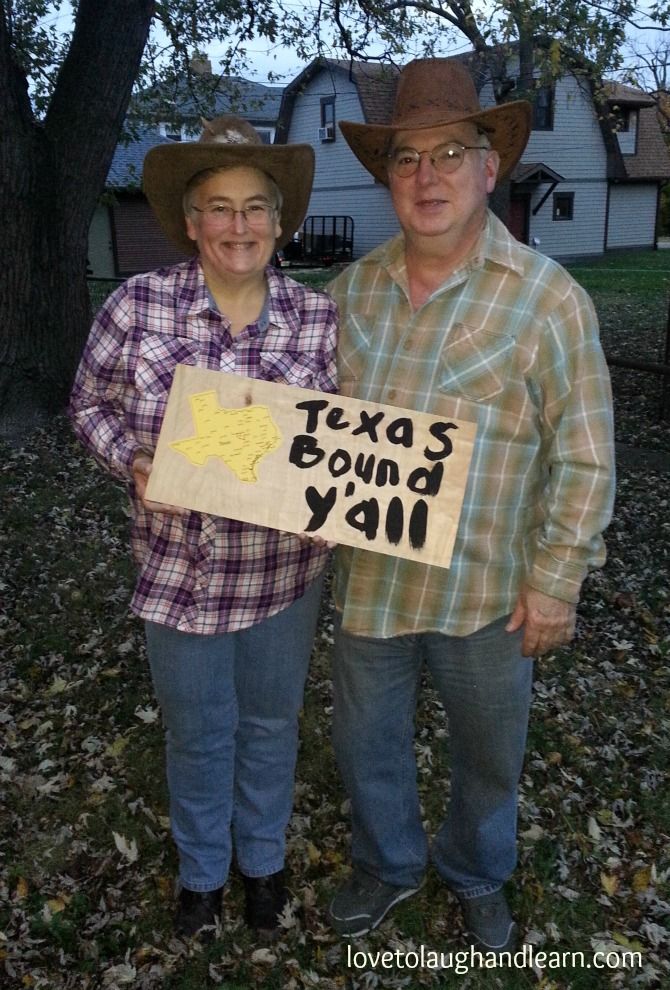
In 2015—my blog’s 4th year—my husband and I moved from Indiana to Texas. Just a year later, in 2016, he passed away after a battle with cancer. His loss turned my world upside down. For a long time, I struggled with grief, finding my footing, and simply learning how to live on my own again.
While I haven’t always been able to post consistently, my passion for fun, meaningful learning has never left. This blog has been a source of healing, purpose, and connection—and I’m honored that some of you have been with me from the beginning.
What You’ll Find Here
I’ve created dozens of activities and free printables to support hands-on learning for families. Whether it’s exploring colors and shapes, gardening with kids, or diving into music and literature, my goal is to make learning a joyful experience.
- Colors and shapes
- Holiday and patriotic activities
- Gardening with kids
- Fun with music
- Cooking and food-themed learning
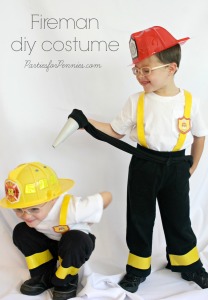
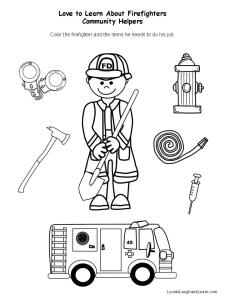
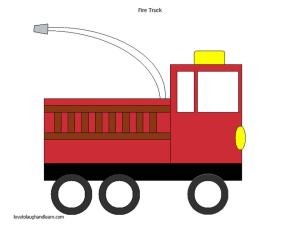
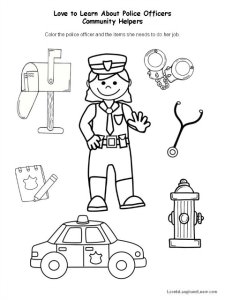
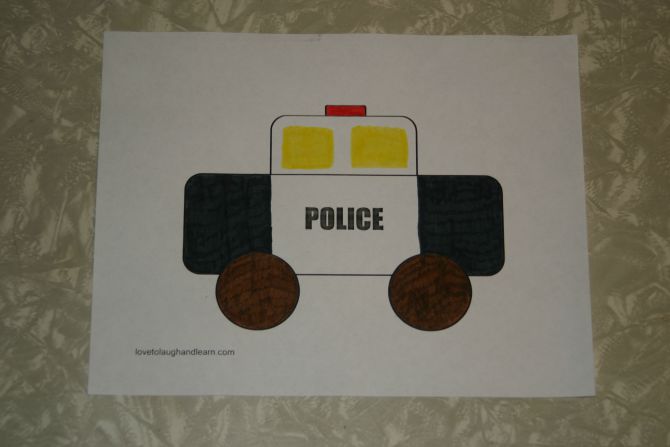
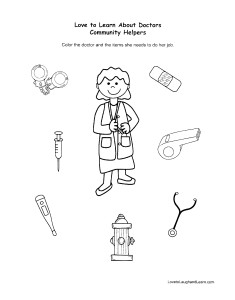
- Community helpers and themed learning units
Whether you’re a teacher, homeschooler, or just a curious parent or grandparent, you’ll find fun ideas here that sneak in learning while making lasting memories.
A Sweet Book from My Heart
After my husband passed away, I wrote a children’s book to help my grandchildren understand what had happened to their Papa. That book became Someone I Love Has Gone to Heaven: A Sweet Object Lesson – a spiritual, gentle explanation of death for young children, using a “sweet” object lesson to illustrate the difference between the body and the spirit.
What started as a healing tool for my own family is now available to help others too. You can find the book online at Amazon, Walmart, and Barnes & Noble.
Teachers Pay Teachers (and You!)
I also create educational resources and printables that I sell on Teachers Pay Teachers—but don’t let the name fool you! It’s not just for teachers.
My store includes:
- Affordable, ready-to-use learning materials
- Several free items (yes, really free!)
- Family-friendly printables for holidays and everyday learning
Even if you never spend a penny, I invite you to grab the free downloads and explore what’s there.
Fun, Wholesome Products for the Whole Family
In addition to printables and blog activities, I’ve also started creating fun, wholesome products for families—including T-shirts, home decor, and more that reflect the same heart and message behind Love to Laugh and Learn. They’re available on platforms like Redbubble, TeePublic, and TeeSpring. Each store has different types of items and different sales, so take a look at all of them.
Whether you’re looking for a cute holiday shirt, a homeschool design, or a meaningful reminder of something you’ve read on the blog, I hope you find something that brings a smile.
More Places to Laugh and Learn
In addition to the blog, you can now find me on:
Each platform has a little something different, but they all carry the same heart: making learning fun for families.
What’s Next?
In recent months, I’ve been posting more regularly – and let me tell you, the ideas are flowing! I’ve got so many things I want to share with you. It takes time to pull it all together, but I’m working on it, one joyful piece at a time.
I’d also love to hear from you! If there’s a topic you’d like me to cover—or a learning idea you’re searching for—please let me know in the comments. My specialty is still early childhood, but now that my grandchildren are 9½ and 12, the blog is growing right along with them!
A Final Word of Thanks
Early in my blogging journey, I learned something valuable from Bob Lotich (Christian Personal Finance) and Jonathan Milligan (Blogging Your Passion):
“Choose a blog topic you’re passionate about—something you’d love even if you never made a penny.”
That’s exactly what Love to Laugh and Learn has been for me. A labor of love. A creative outlet. A way to honor the childlike joy in all of us.
Thank you for being part of this journey. I can’t wait to see what the next chapter brings. It will definitely include even more hands-on learning for families everywhere.
With Love,
Mama Carmody