Rectangles: Learning Activities for Shapes
with Free Printable
Time to have fun with rectangles. You can find rectangles all around you…look at the front door of your house and possibly the windows are rectangles too. Did you know if you put two squares side by side that they will make a rectangle? Try it and see. Have fun with the different crafts, snacks and stories that help you learn more about rectangles.
Content:
Toys
Craft:
Red Rectangle Robot
Snacks
Story Time
Related Posts
Toys
Here are a few suggestions of toys that might be around your house that are rectangle shaped:
Train track pieces, books, some puzzles are rectangle shaped, pictures in your family photo album, deck of cards, Playful Patterns by Discovery Toys (just use the rectangle shapes for play today)
Leave a comment and tell me what else you found.
Craft
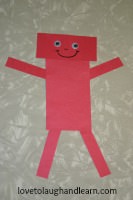
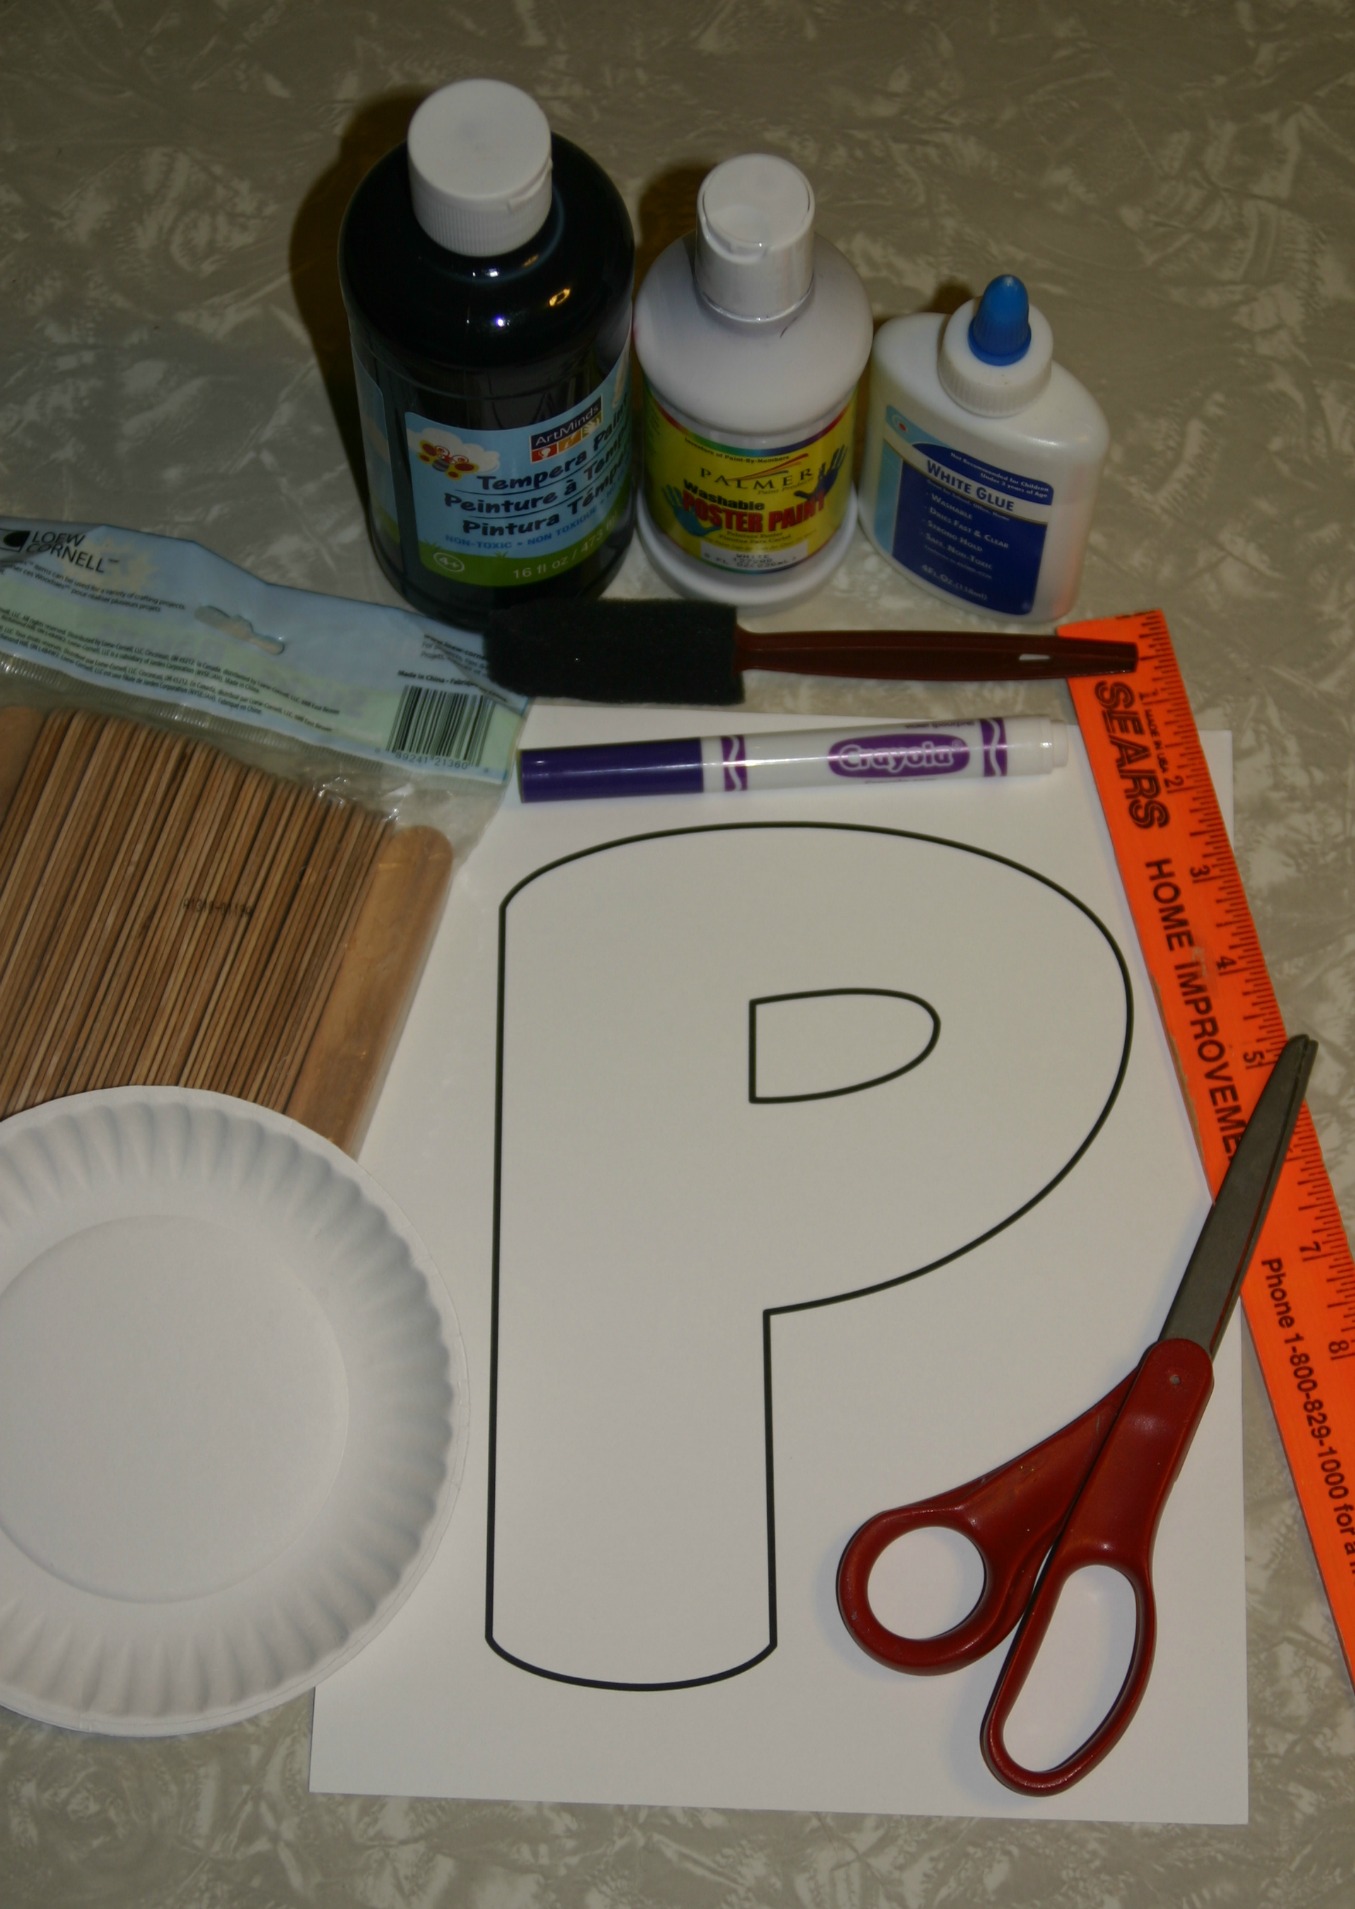
Red Rectangle Robot

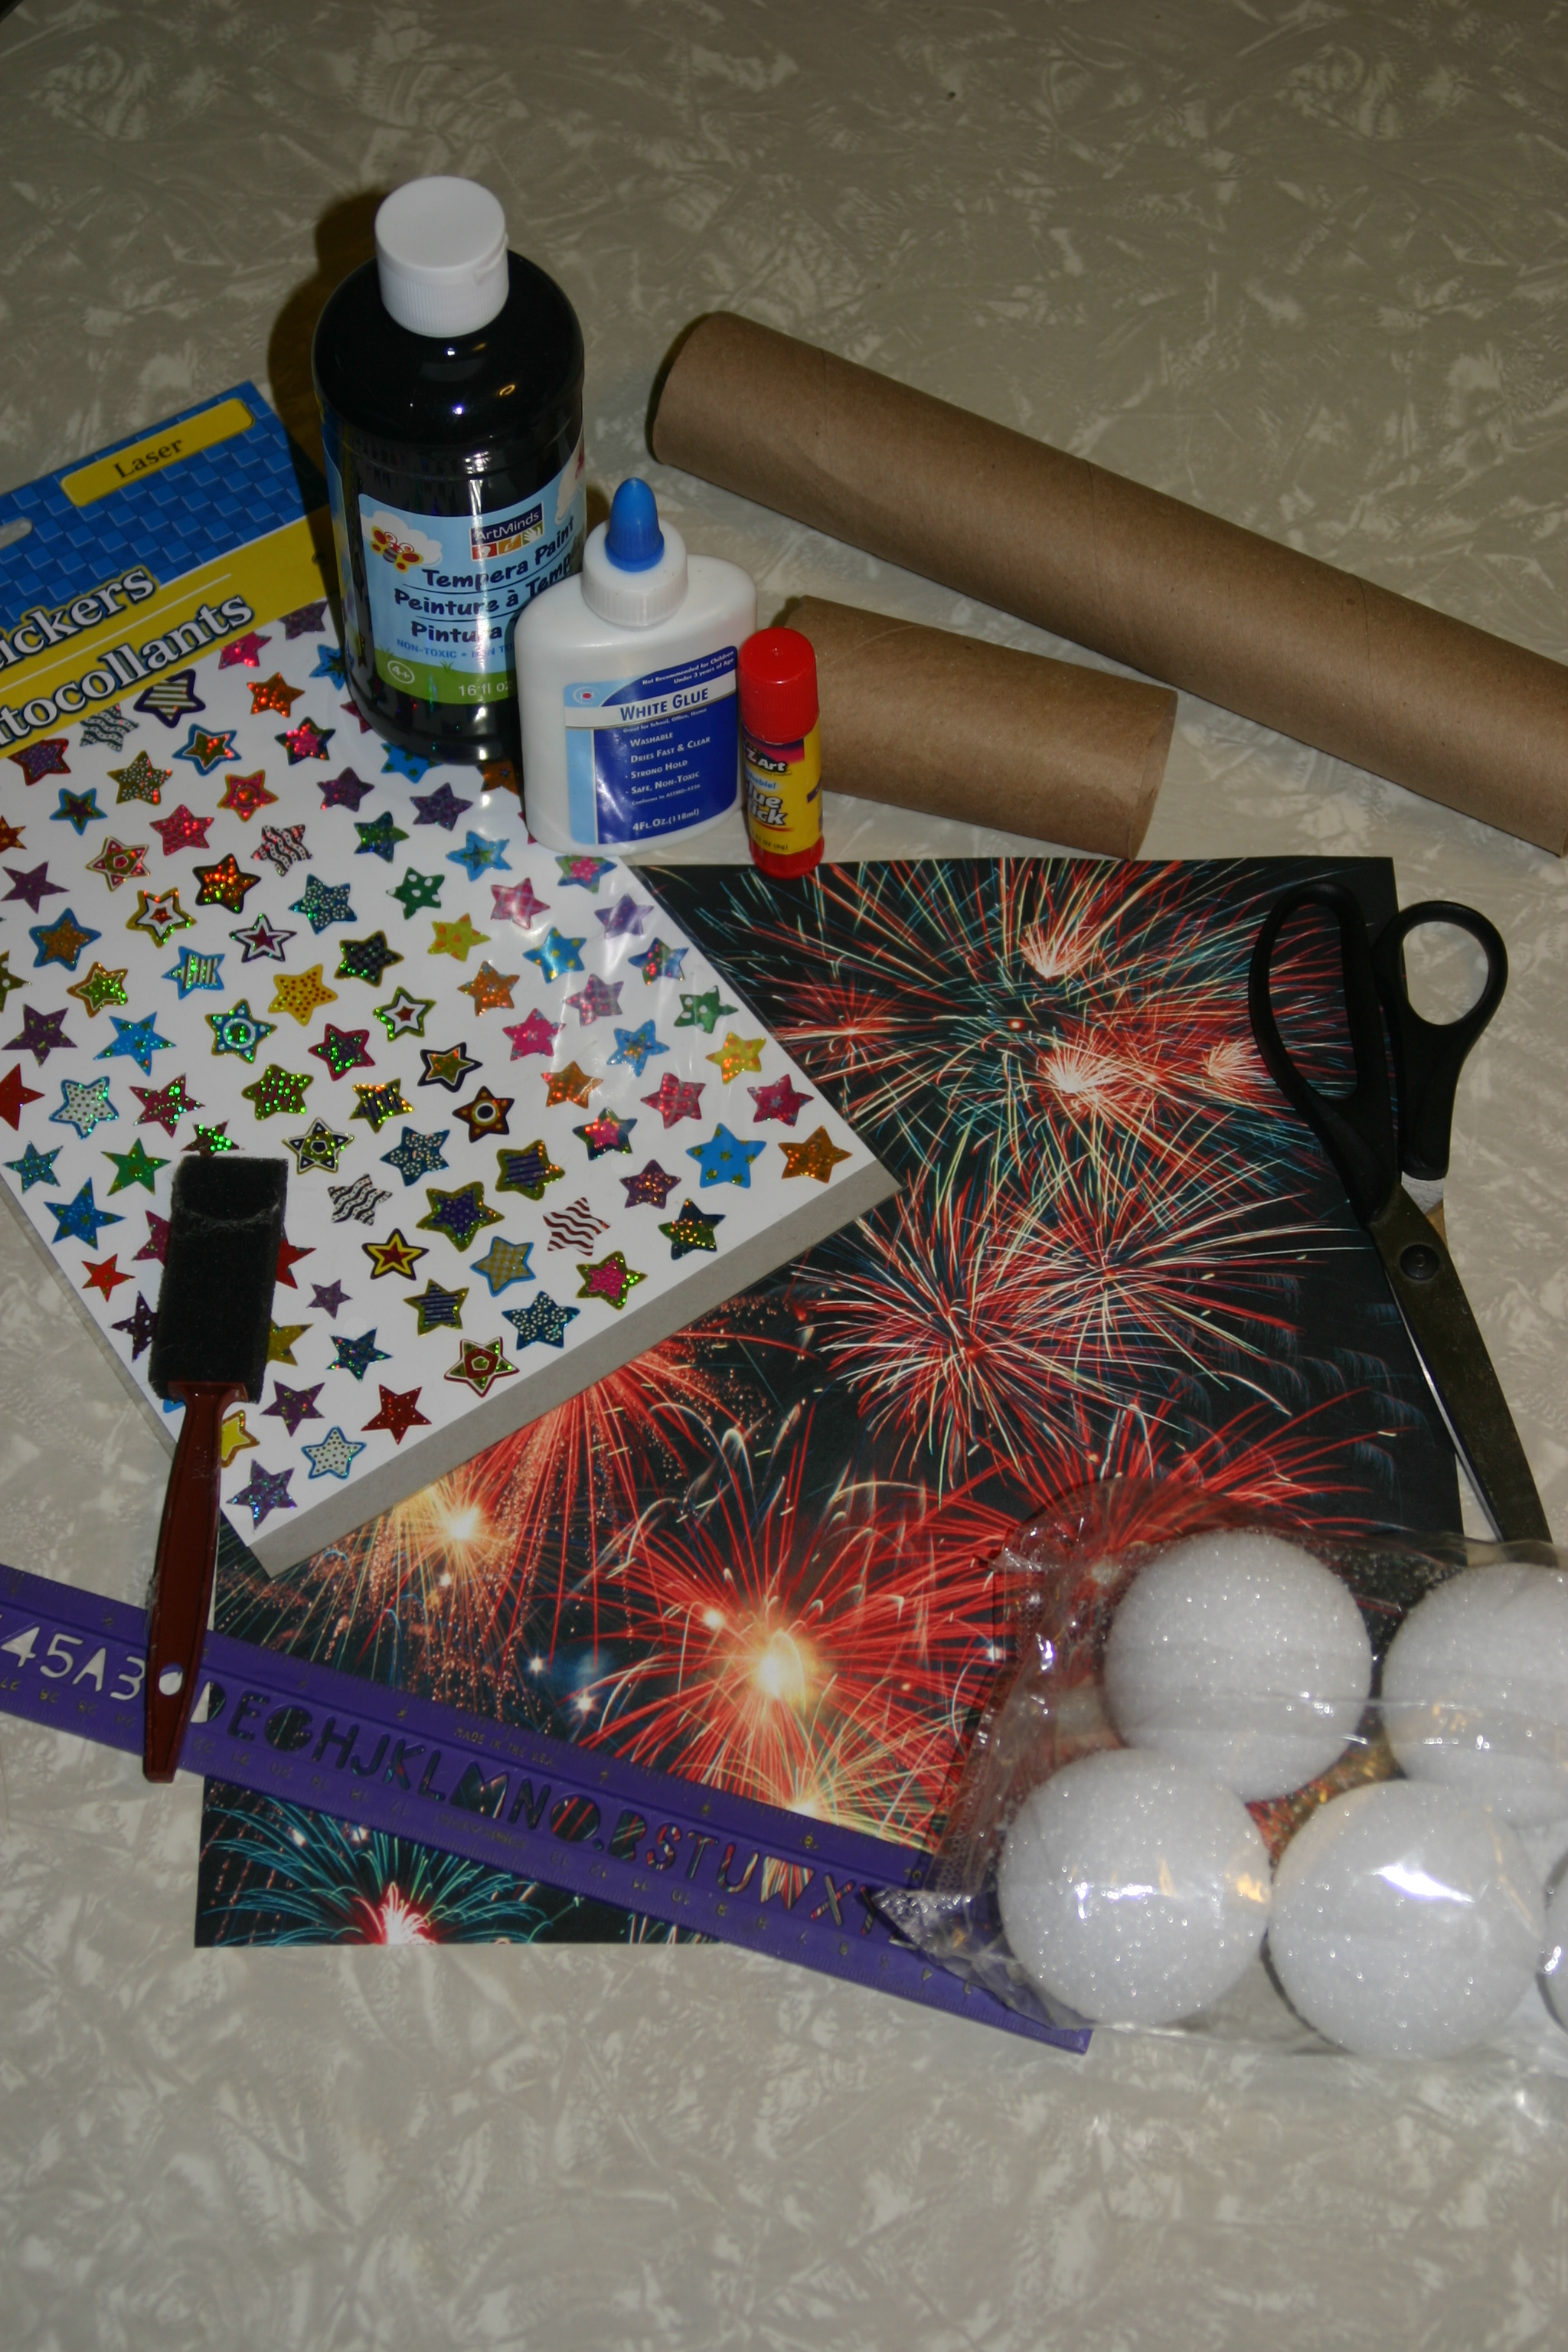
Materials Needed:
Red Rectangle Robot pattern
Red construction paper or red crayons, markers or paint
Scissors
Glue
Wiggly Eyes
Marker or crayons to draw face
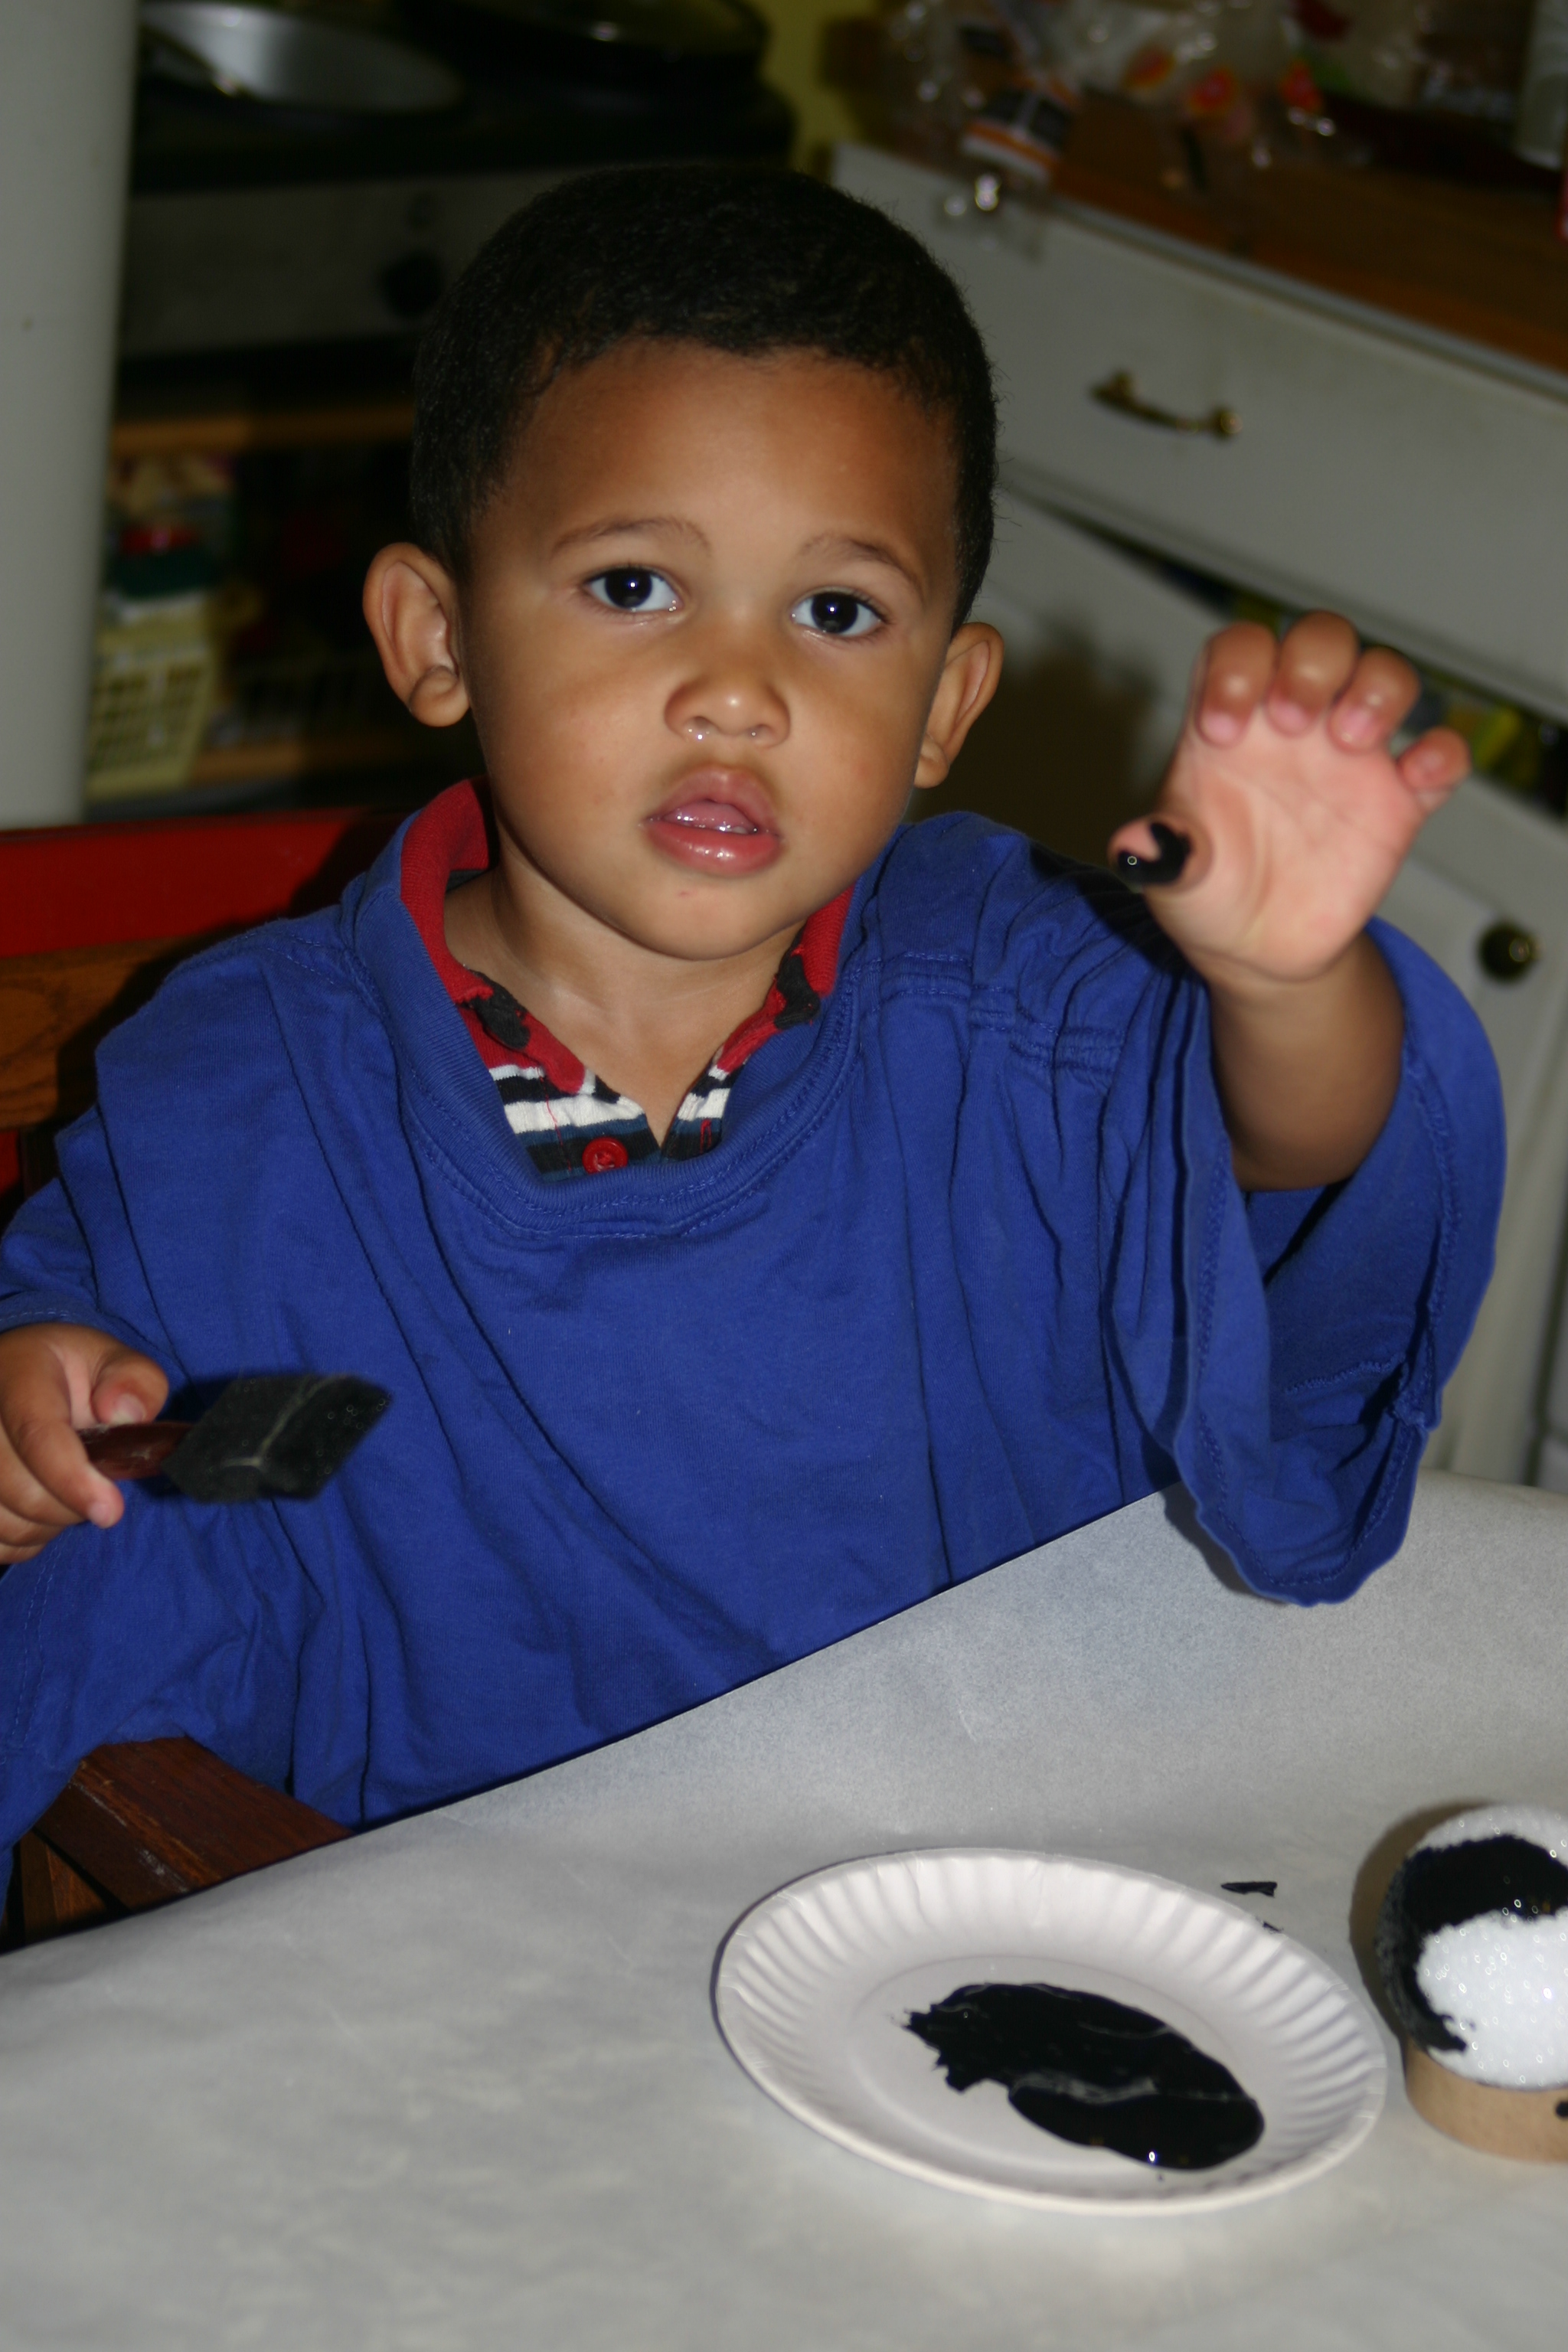
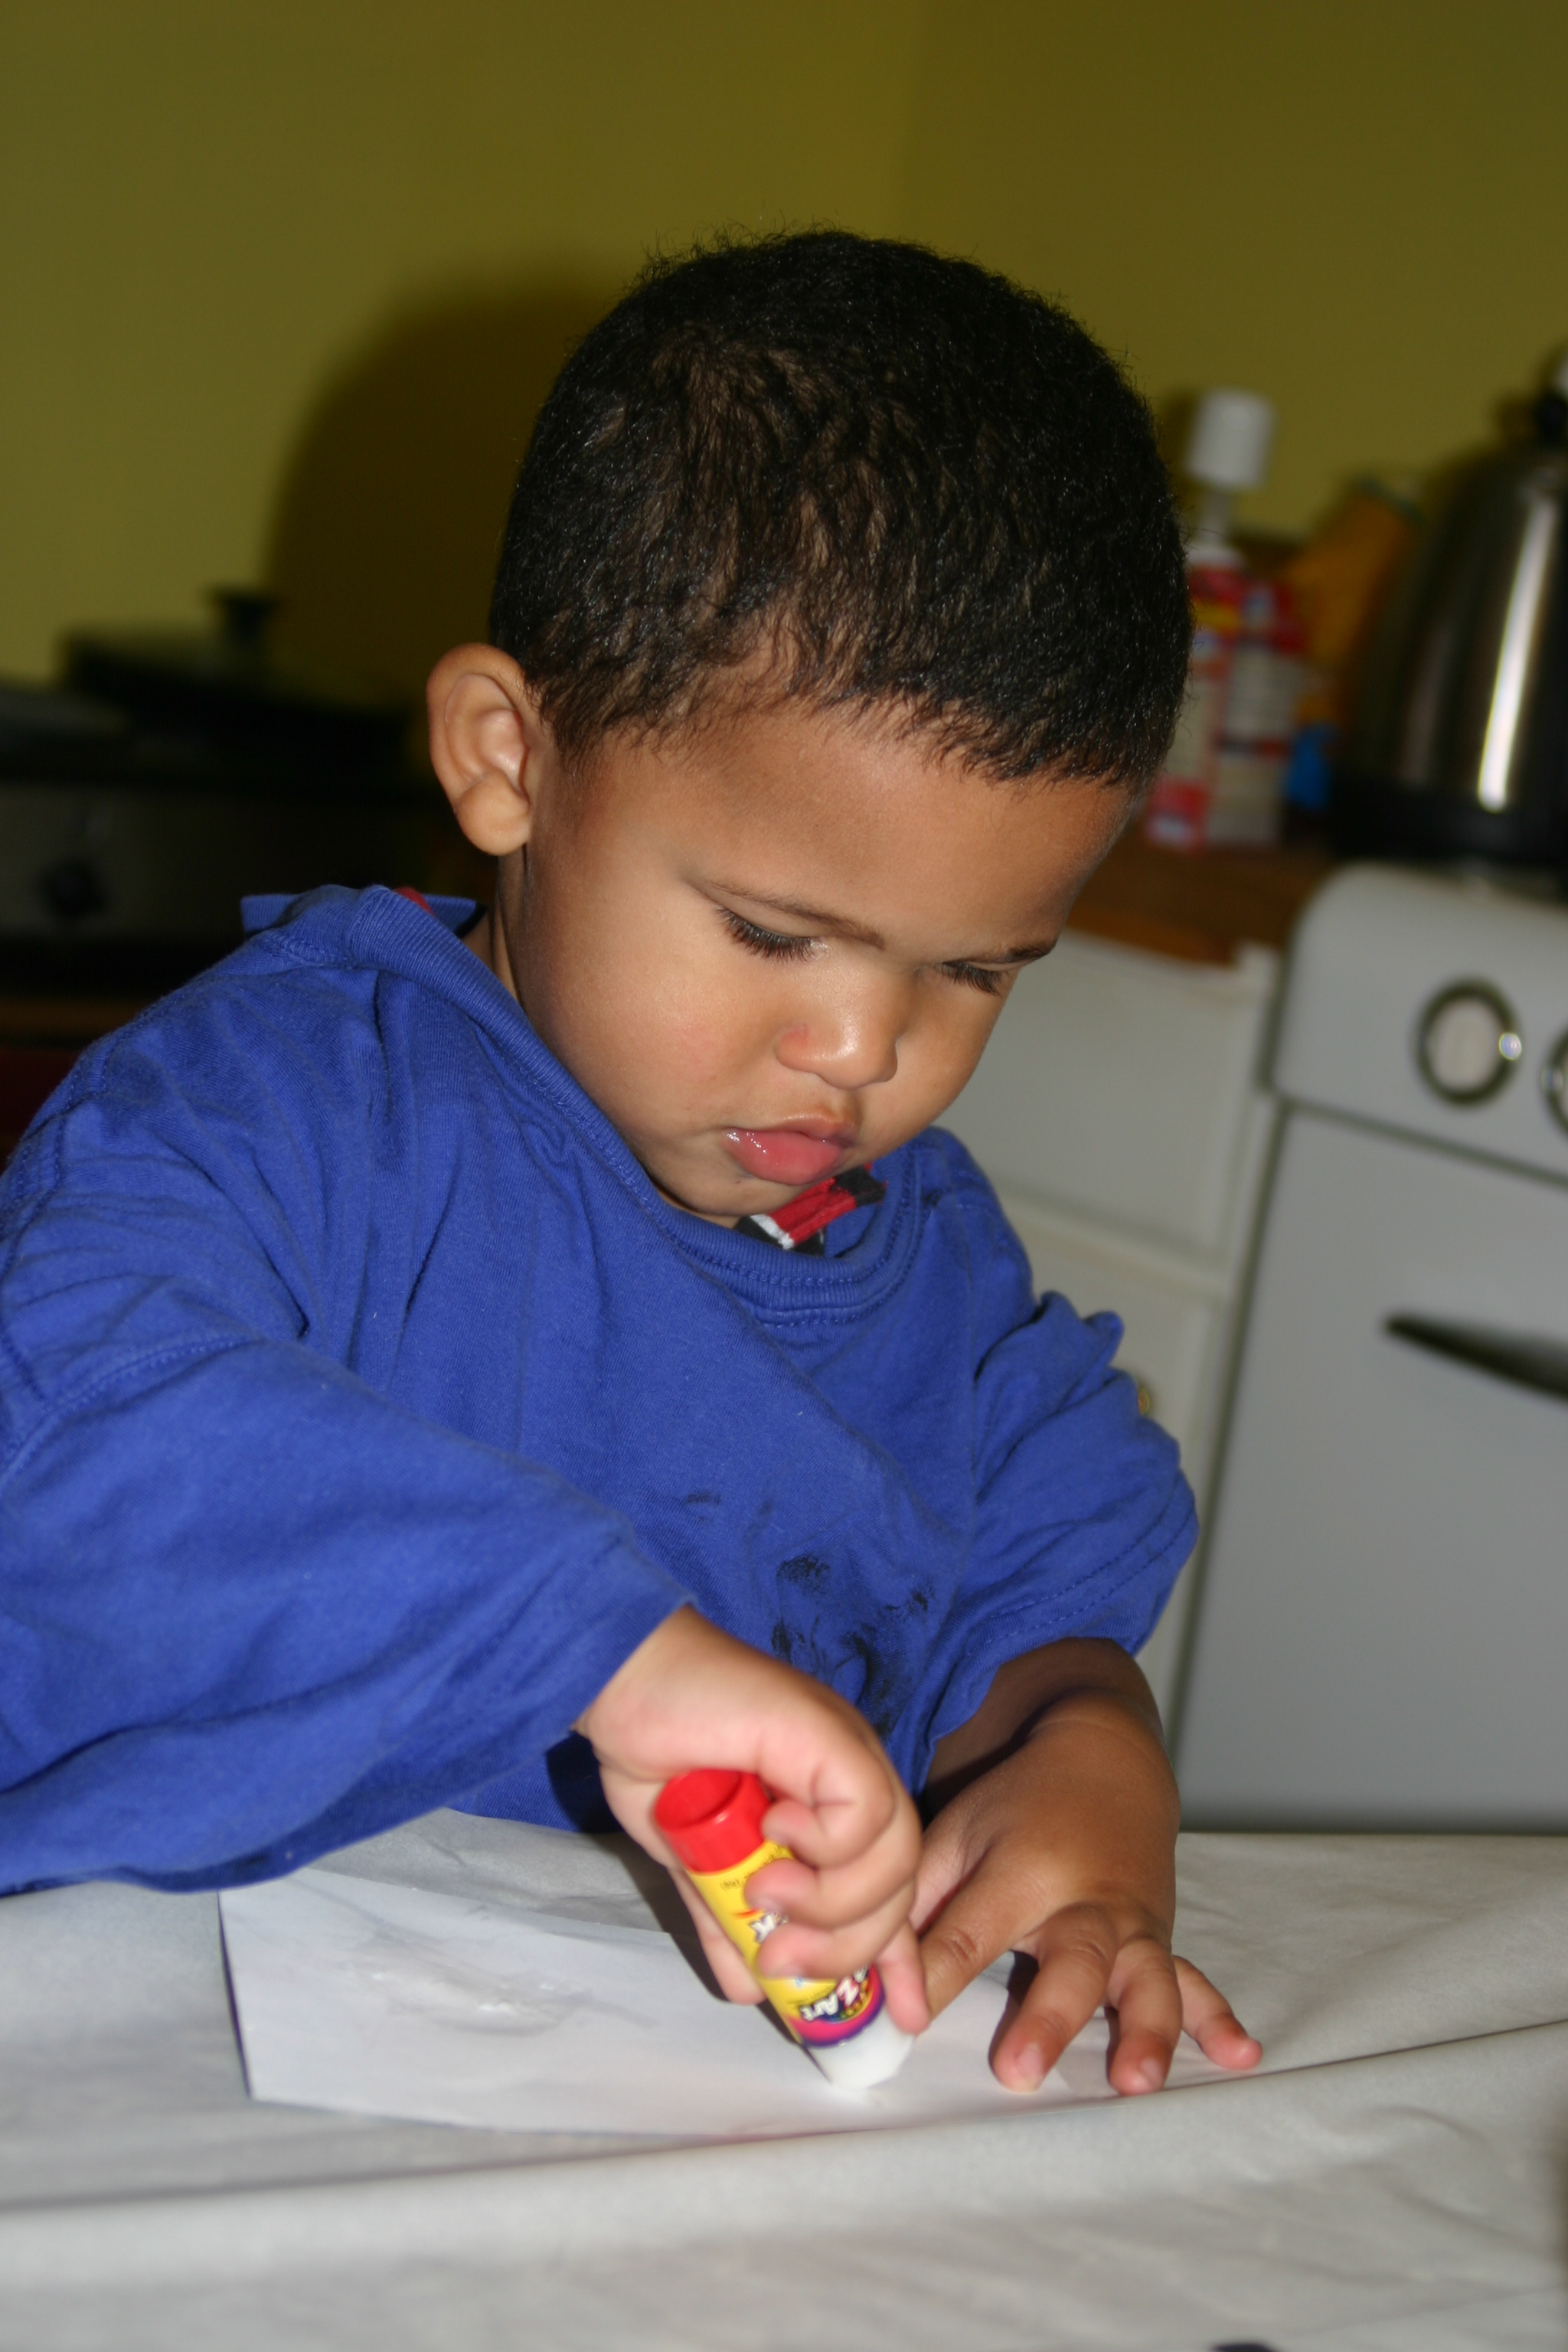
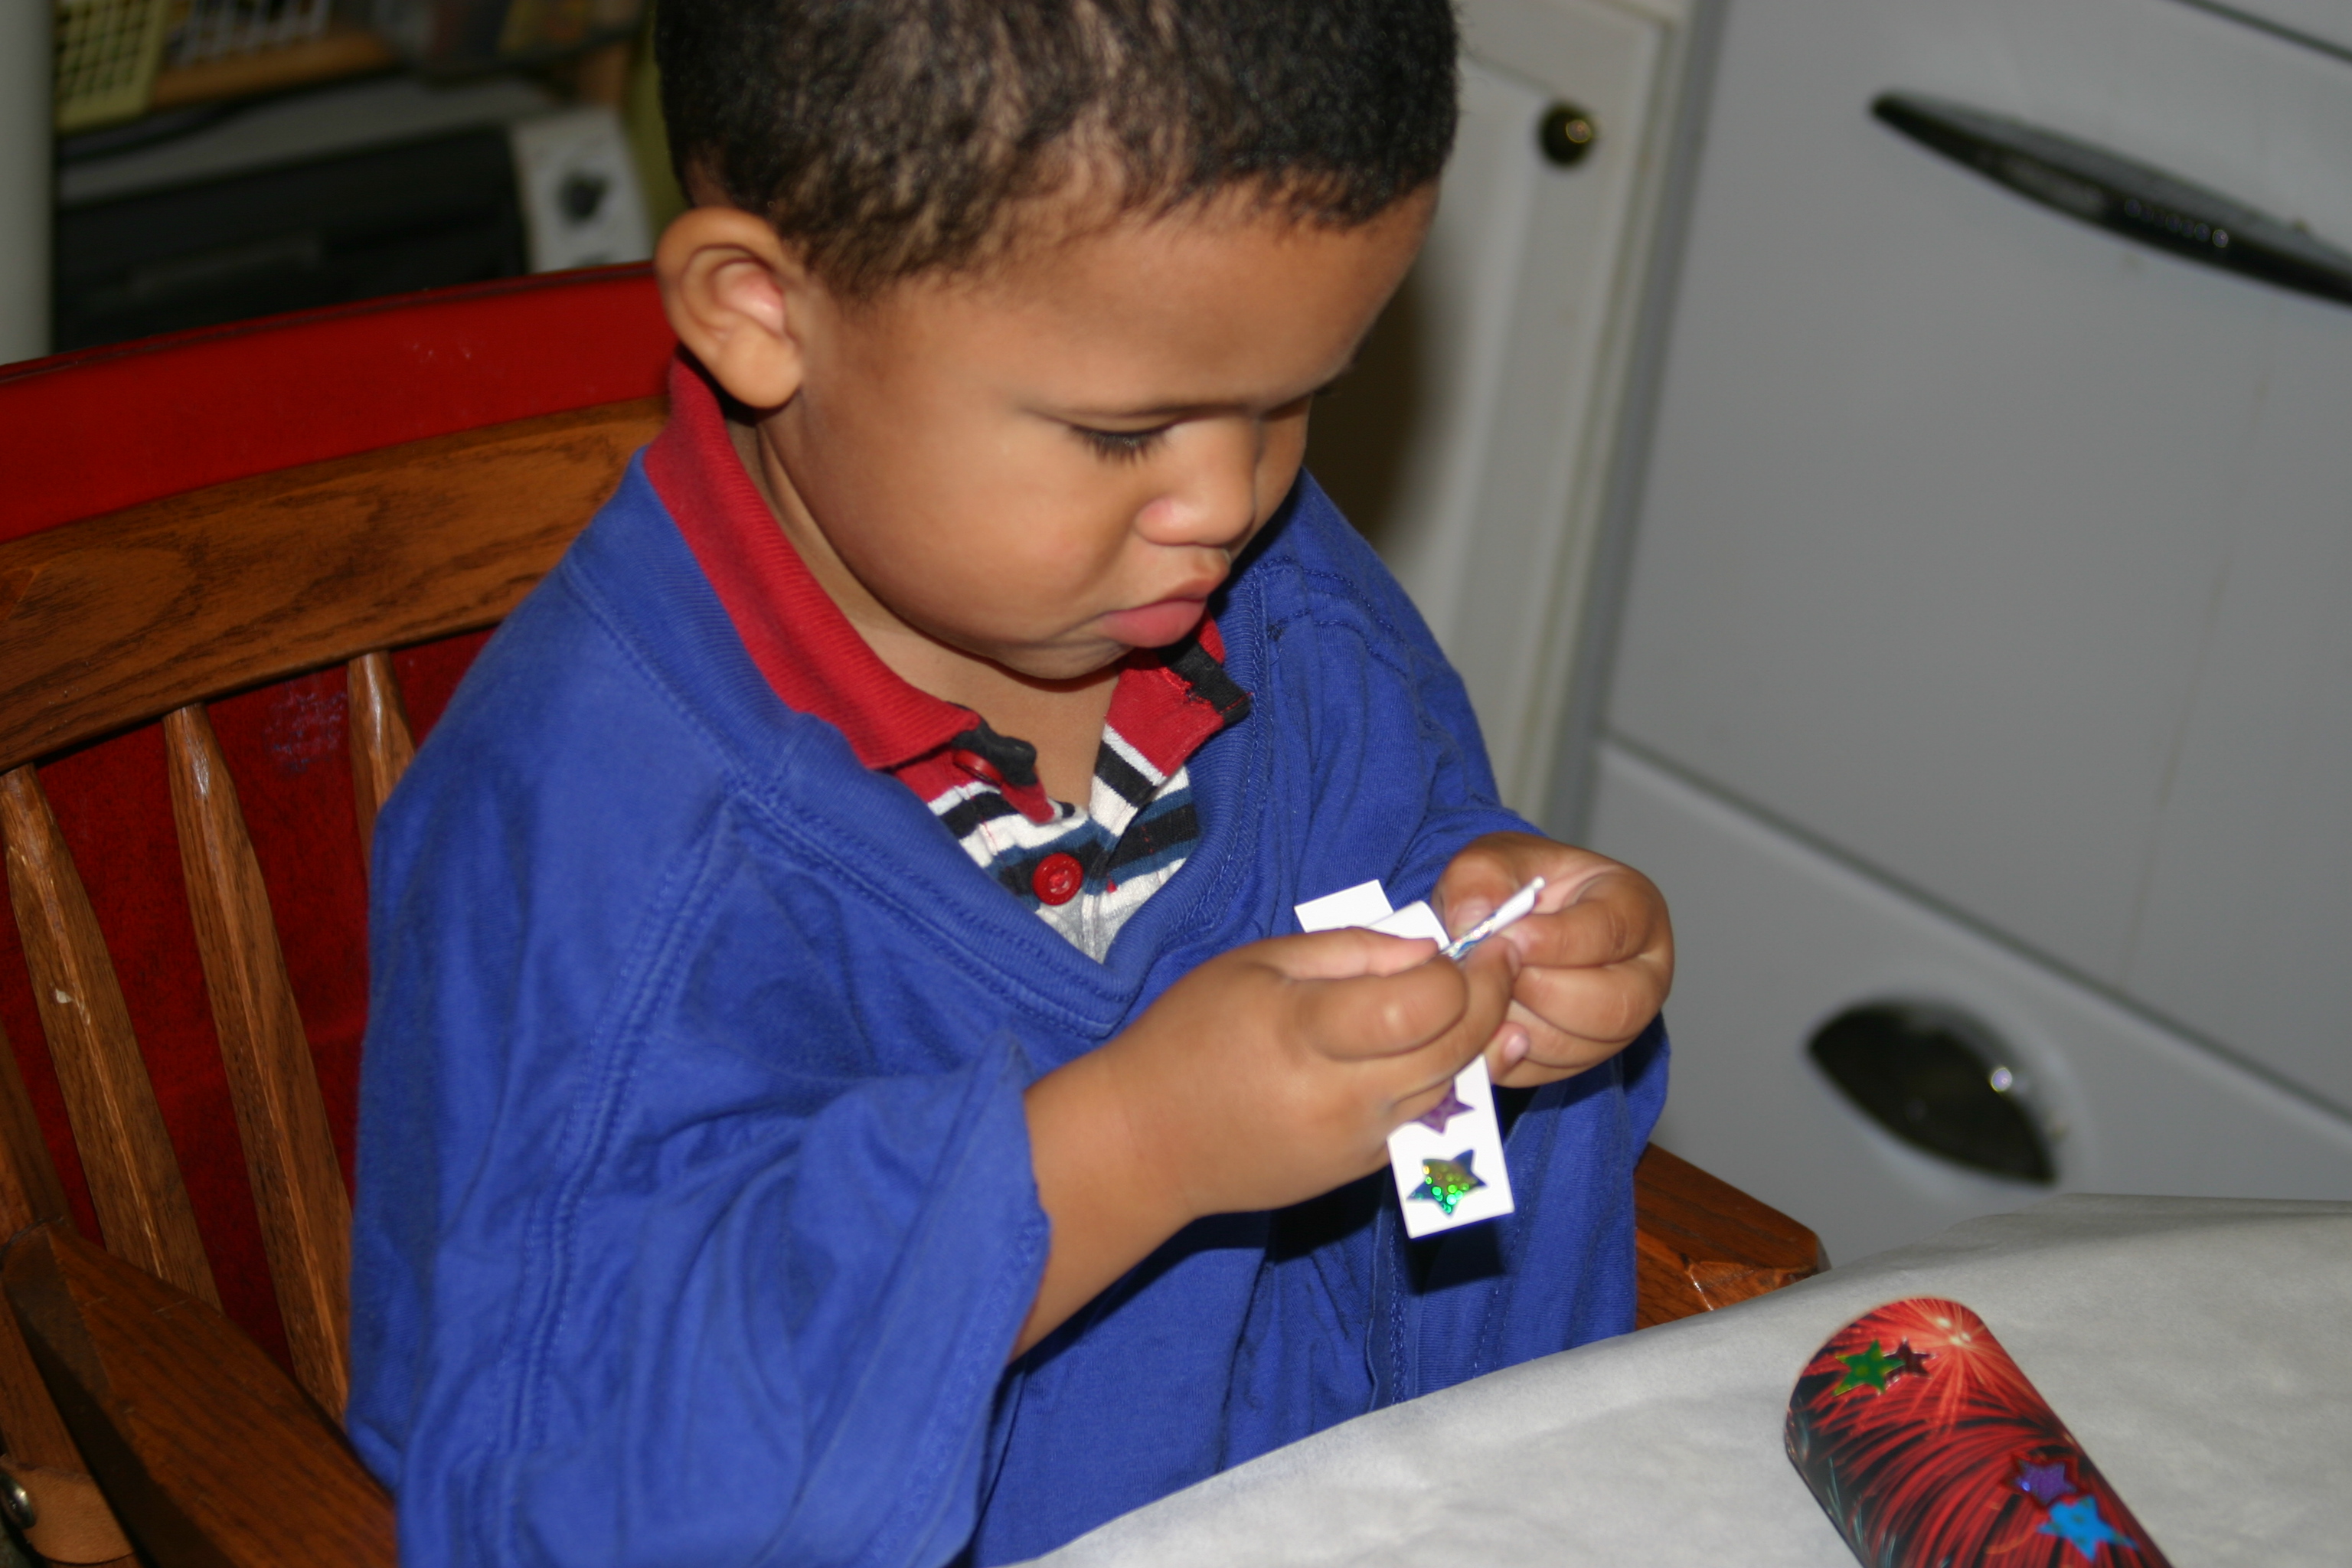
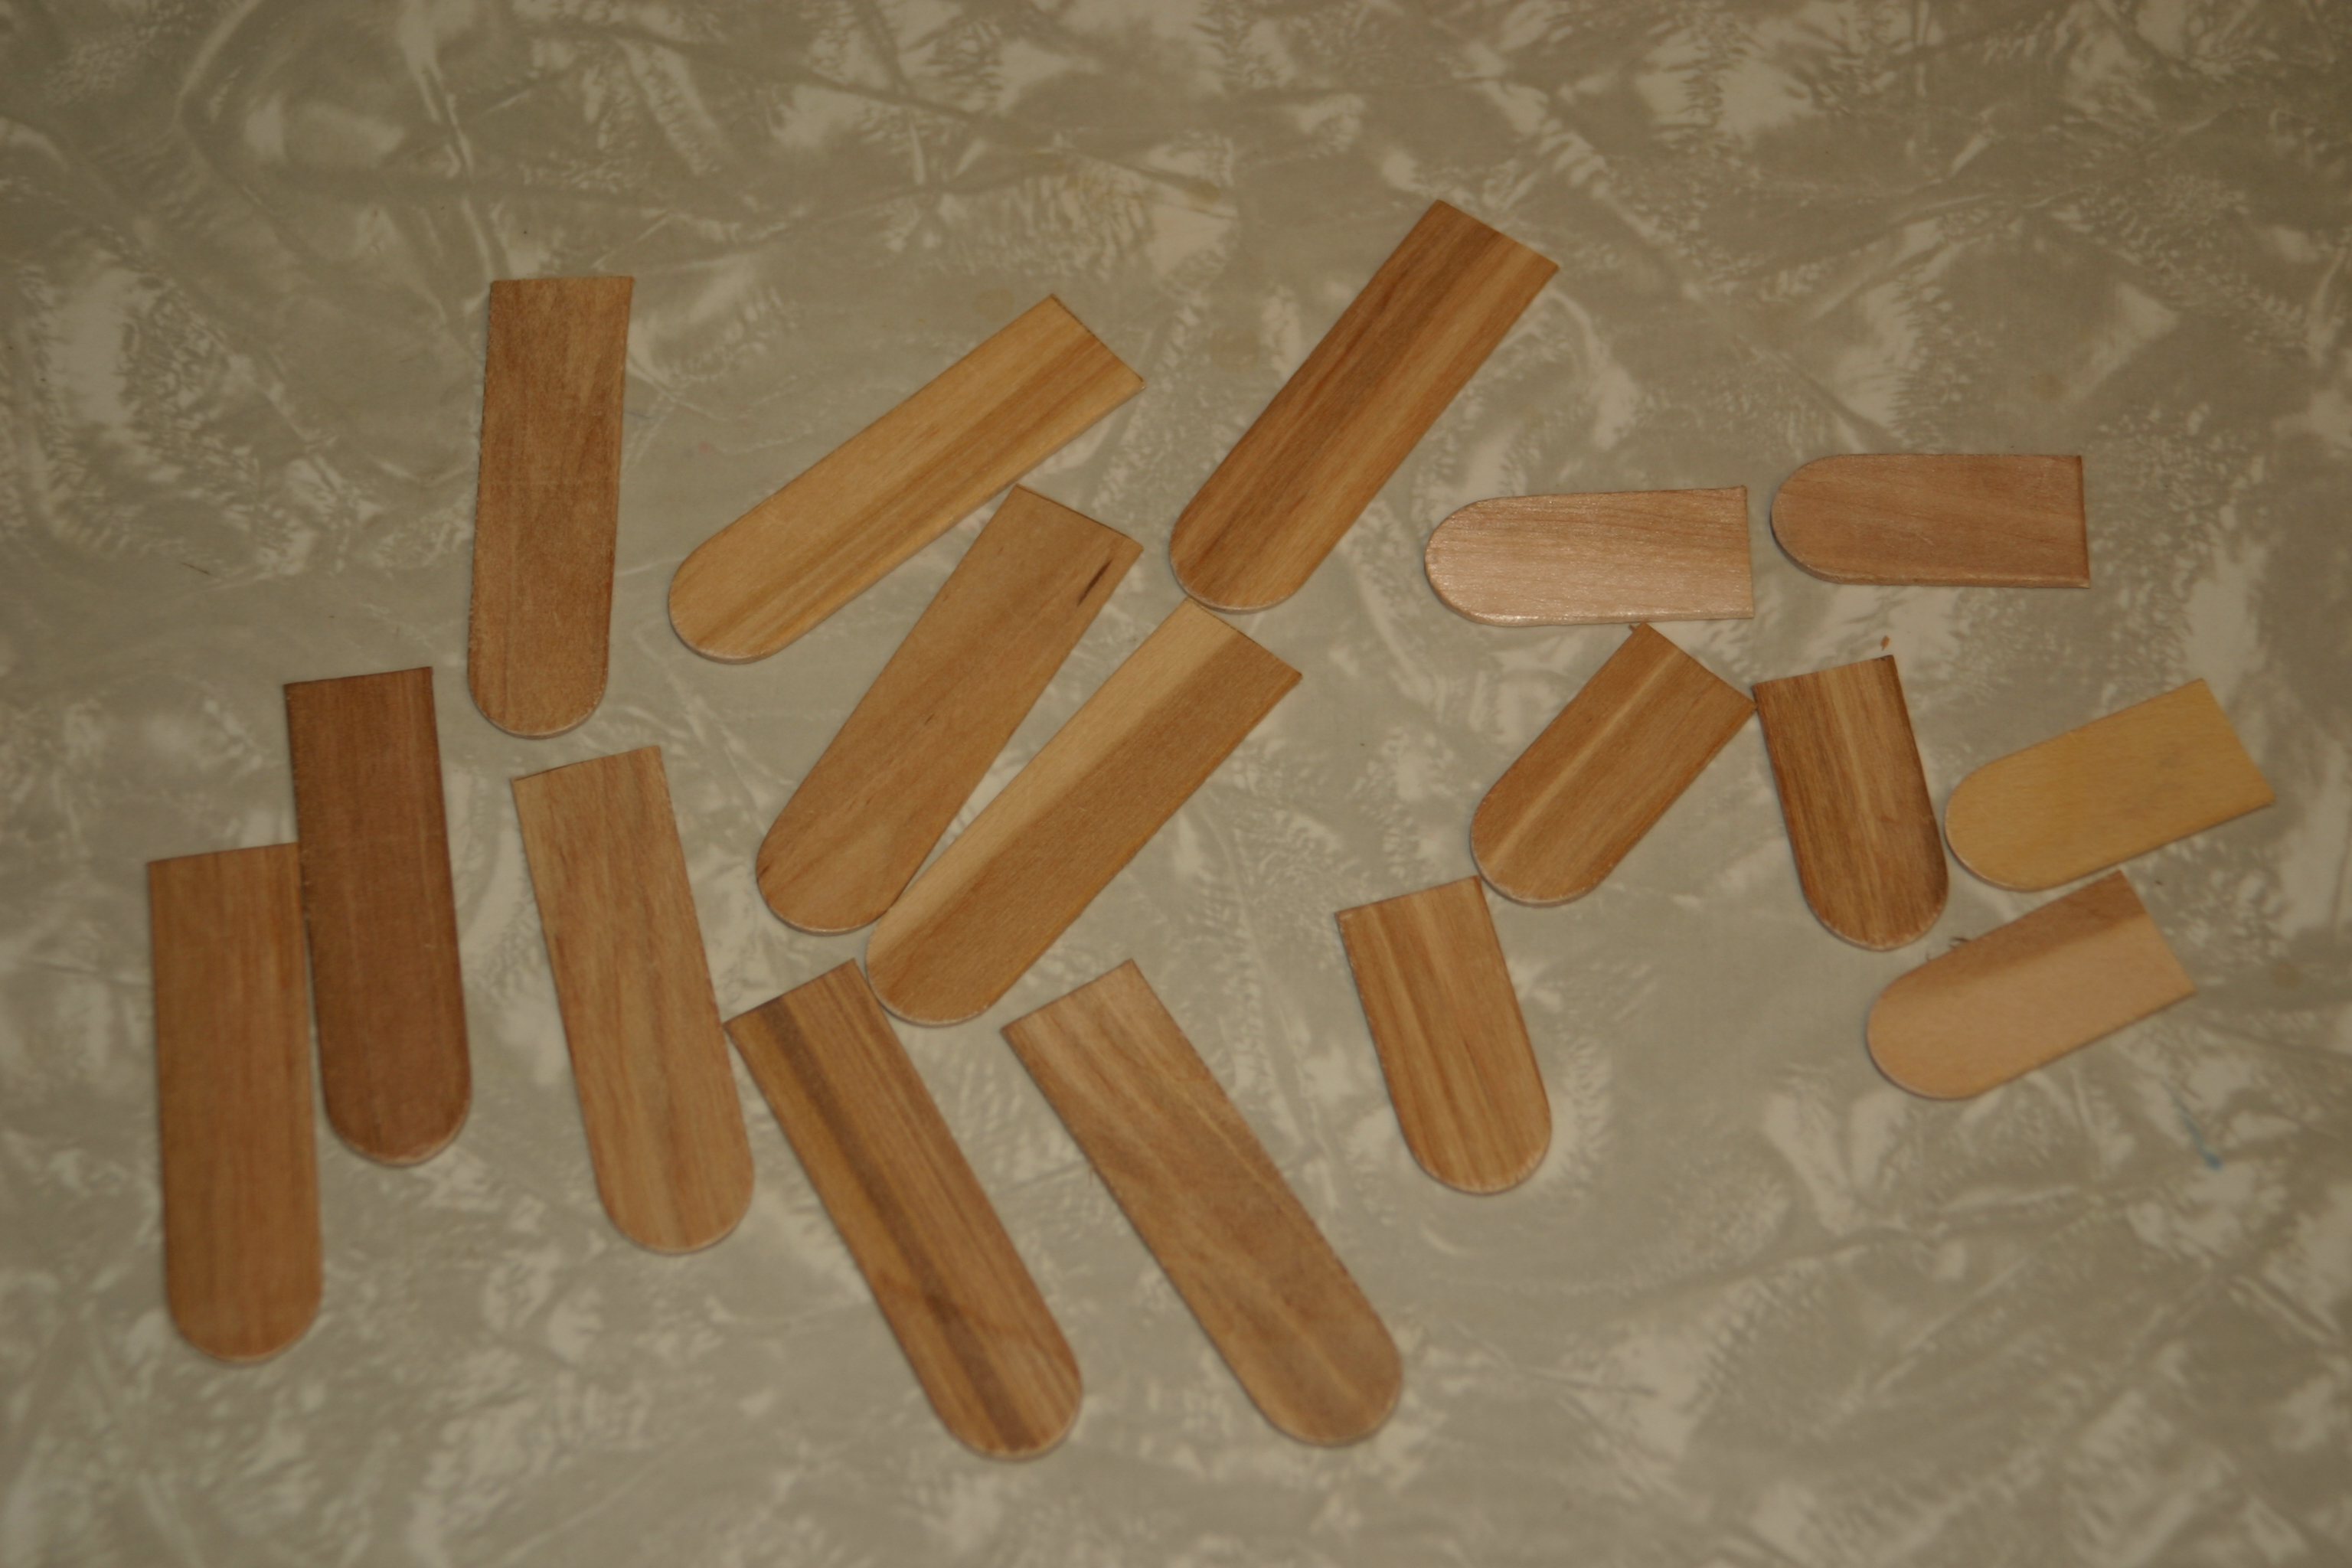
Instructions:

1) Print the Red Rectangle Robot Pattern
2) Either color, paint or use the pieces as a pattern to cut out of red construction paper.
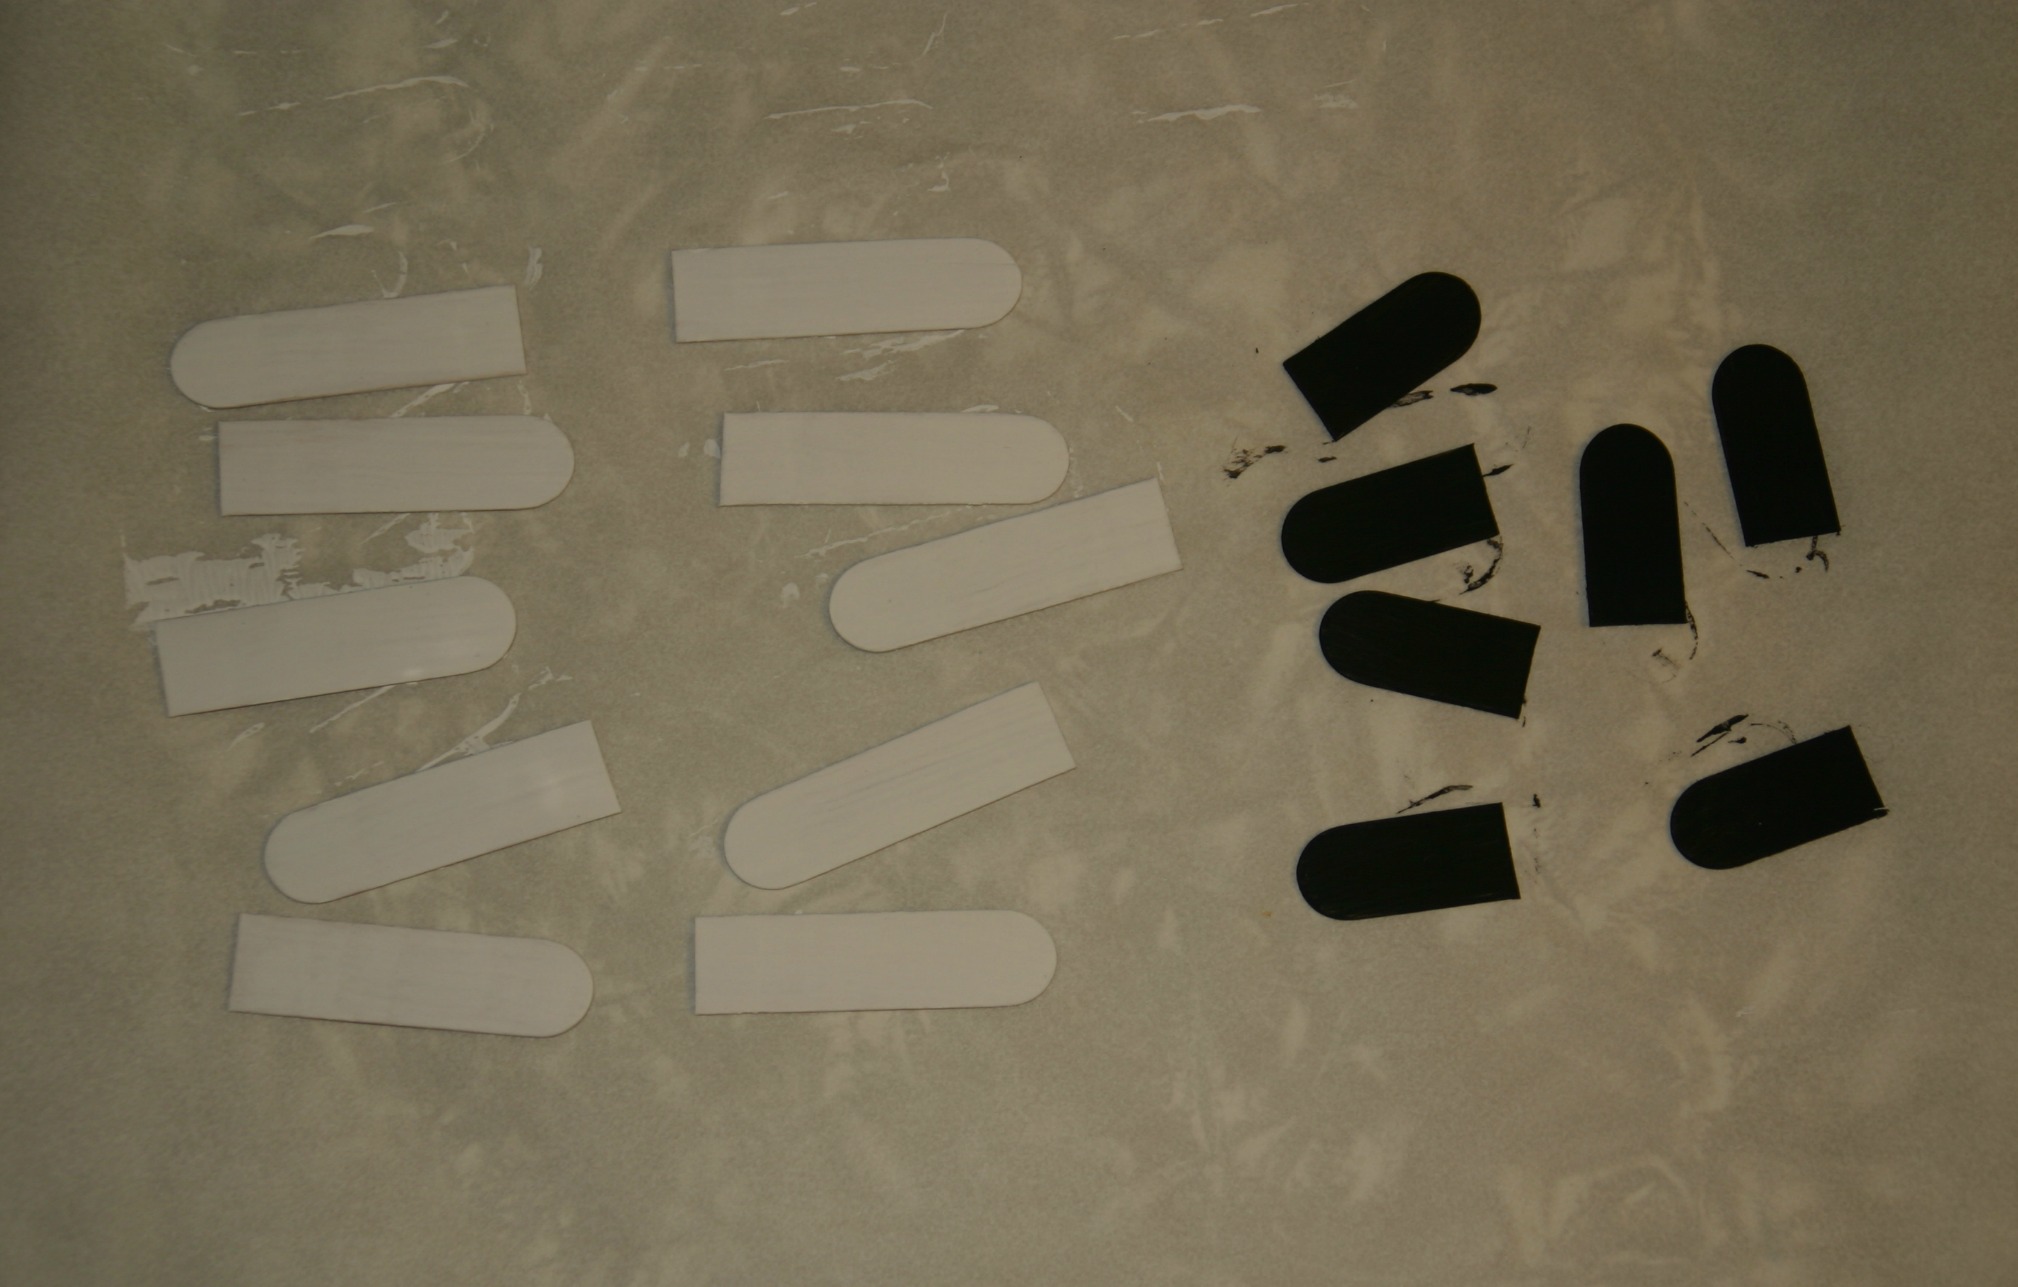
3) If you color or paint the pieces, then cut them out.
4) Now assemble your robot with glue.
5) Add wiggly eyes and draw on mouth and nose.
Now you have a wonderful red rectangle robot.
This craft would also be good when working with the color red or the letter “R”.

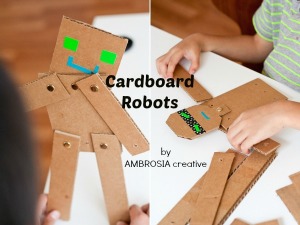
* Another fun way to create this robot would be out of cardboard. I got this idea from Ambrosia Creative. Use my printable and then follow the directions found on Ambrosia Creative. I would suggest adding a tab to the rectangle head to aide in it’s movement and the way it attaches to the body. You will understand what I’m talking about when you look at her directions. Have fun with this additional way to create a rectangle robot. Click on the picture below to head over to her blog.
Foods for snack or meal time
A sandwich cut in half, graham crackers, club crackers, granola bars, cheese or lunch meat cut into rectangular shapes
Story Time
I See Rectangles (All about Shapes)
by D.H. Dilkes
Reading Level: Birth to 4 yrs old
D. H. Dilkes has a great series of little books that discuss different shapes. In this book you will find rectangles all around school. Your child will encounter several items that they will see around school. The text is simple which is great for a young child that is just being introduced to shapes.

Rectangles: The Shape of the World (Bookworms)
by Dana Meachen Rau
Reading Level: Birth – 4 yrs old
Dana Meachen Rau has a great series of little books about shapes. In this book you will see several different rectangles. You might find some right in your own house. The simple text and bright pictures will give you and your child a lot to talk about. This is a great little book for introducing rectangles to your child.

Rectangles (Shapes)
by Pamela Hall
Reading Level: Birth – 5 yrs. Old
A cute introduction to rectangles. The rhyming storyline leads you through bright illustrations of a kitten and her puppy. They encounter rectangles all around the town. There are many rectangles on each page to be observed, counted and enjoyed.

Rectangles around Town (Shapes Around Town)
by Nathan Olson
Reading Level: Ages 4 and up
You will definitely see lots of rectangles all around town. There are so many to find on each page. You will find great illustrations of rectangles. The book even talks about the differences between rectangles and squares. Your child can practice counting how many rectangles they can find on one page.

Related Posts
Shapes – Overview
The Lessons – Overview
Circles: Learning Activities for Shapes
Ovals: Learning Activities for Shapes
Squares: Learning Activities for Shapes
Triangles: Learning Activities for Shapes
Diamonds: Learning Activities for Shapes
Stars: Learning Activities for Shapes
Hearts: Learning Activities for Shapes
Learning Should Be Fun
Colors – Overview